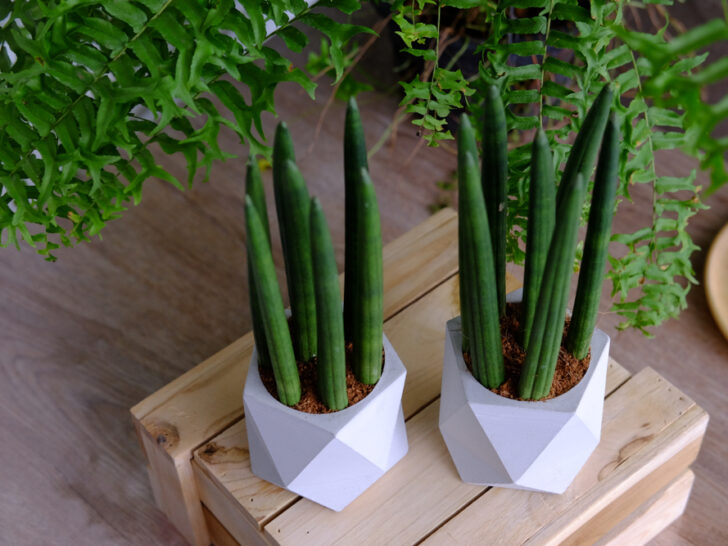

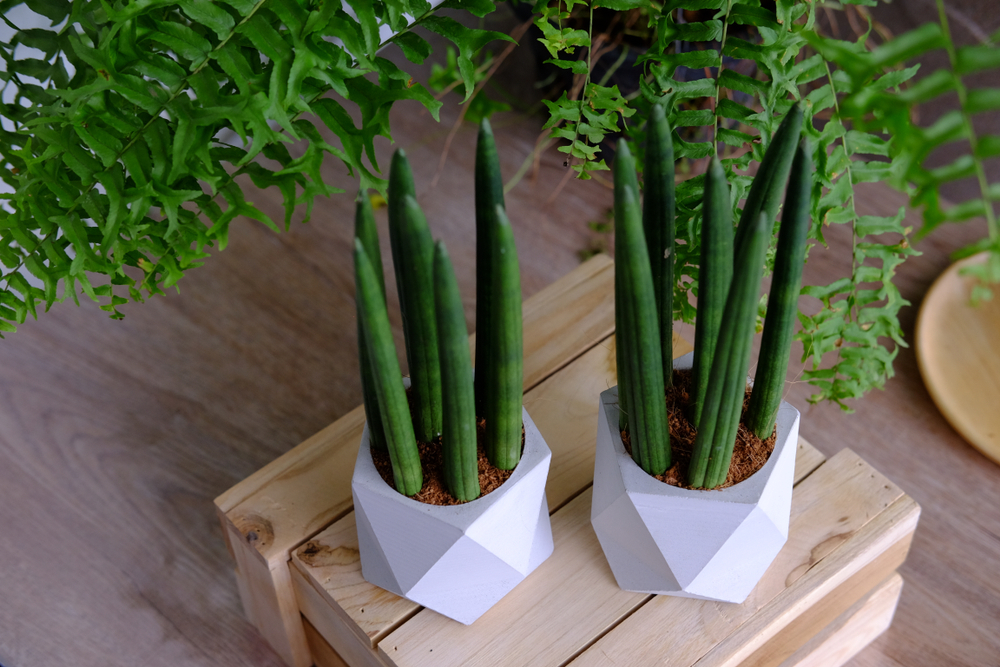
The Sansevieria cylindrica, or ‘African Spear,’ is a drought-tolerant succulent that’s generally easy to care for and propagate. Still, it’s crucial to fully understand how to maintain the plant and take cuttings to ensure you get the best results.
To propagate a Sansevieria cylindrica, gather all the necessary equipment, including pruning shears and a rooting hormone. Next, take your cuttings and dip them in the rooting hormone. To care for the plant, water it and ensure the soil is well-draining. Also, ensure it gets enough sunlight.
Knowing how to care for and propagate a Sansevieria cylindrica is essential if you want it to remain healthy and luscious green. This article will discuss ‘African Spear’ care and propagation in more detail, so keep reading to learn more.
How To Propagate Sansevieria cylindrica ‘African Spear’
It’s easy to grow ‘African Spear.’ All you need are the proper equipment and knowledge, both of which we will tackle in the following sections.
1. Gather the Necessary Equipment
The first step of propagating a Sansevieria cylindrica is to gather all the necessary equipment. With the right tools and materials, you will be able to do it properly, which can avoid problems.
The sections below detail the most important things you’ll need.
Pruning Shears
A pair of pruning shears is vital because it will help you get a clean and smooth cut. Make sure the shears you use are sharp and easy to grip. While pruning shears are the best thing to use, you may use another sharp tool, like a knife, as long as you can still get a straight, clean cut.
Rooting Hormone
Rooting hormones generally come in the form of liquids and powders. And when you dip the ends of your cuttings into a rooting hormone, roots are more likely to grow after a few weeks.
Rooting hormones can even aid the rooting of stubborn plant species. Plus, they can increase the number of roots produced and improve rooting uniformity.
Powder rooting hormones are easy to use, so I recommend using one.
Although rooting hormones are technically not entirely necessary, they will increase the chances of roots forming. Still, it’s possible to grow healthy roots from cuttings without using hormones, so it’s up to you to decide.
Well-Drained Soil
Another vital thing to have when propagating a Sansevieria cylindrica is well-drained soil. These plants are highly tolerant to drought and dry conditions, so the last thing you want to do is put them in soggy soil that doesn’t drain well enough.
Good, well-drained soil consists of organic matter, including manure and compost. So before starting the propagation process, ensure you have fresh, well-drained soil with plenty of organic matter. This will give the cuttings a healthy and dry environment to grow.
A Pot
You’ll also need a pot for your Sansevieria cylindrica cuttings, and it should be big enough, so the roots have enough space to form. The size of your pot depends on the number of cuttings you want. As you can imagine, the more cuttings you make, the bigger the pot needs to be.
In addition to the pot being big enough, it must also allow drainage. So, make sure it has drainage holes. If it doesn’t, consider purchasing a new pot or drilling holes in the base.
Without drainage holes, the water from the soil won’t be able to drain correctly, and you could end up with waterlogged soil. Waterlogged soil can then lead to other issues, like root rot.
2. Take Cuttings From the African Spear
Once you have all the necessary equipment, you can take the cuttings from your African Spear. It’s best to take cuttings from the longest sections of the plants so you can get more out of the propagation.
You can either remove the plant from the pot and take cuttings or cut it while it’s still in the soil. If taking cuttings while the plant remains in the soil, cut an inch or two (2.54 to 5.08 cm) above the dirt.
If taking cuttings after removing the plant from the soil, make sure to cut above the old roots. There shouldn’t be any roots in the new cuttings.
3. Cut Each Cutting Into Smaller Sections
Once you’ve gotten all your cuttings, cut them into small sections. Each one should be around 4 inches (10 cm).
After cutting each section into a 4-inch (10-cm) piece, pay attention to the sides. It can be challenging to decipher between the bottom and tops of the cuttings, so it’s a good idea to make markings (using a pen or marker) to take note of the tip of each piece.
If you don’t want to make a marking, consider setting each cutting in a specific direction (i.e., the tip of each cutting facing upward). This way, you will remember which side is which.
If you place the tip of the cutting into the soil, it won’t be able to produce roots, making the entire process a waste! So, this step is vital.
4. Dip the Ends of Each Cutting Into Rooting Hormone Powder
Once you’ve cut all the cuttings into 4-inch (10-cm) sections, dip them into a hormone powder to increase the chances of roots forming. If using a powder, you may need to dip the roots in water, allowing the powder to stick more easily.
However, it might be able to stick without water, so give that a try first.
Although you can dip each cutting directly into the powder container, placing some powder into a small clean container is best. This will keep everything more organized and sterile.
5. Let the Cuttings Sit for Around a Day
Once the end of each cutting is covered in rooting hormone, leave them out for a day. Doing this will give it time to work before placing everything into the soil.
It’s unnecessary to cover the cuttings during this waiting period but ensure they’re in a safe place where they won’t get damaged.
If keeping them outside, keep them as dry as possible and out of highly windy conditions. Too much water or wind may wash or blow away some of the rooting powder, which you want to avoid.
6. Place the Cuttings Into Fresh Potting Soil and Water Them
After the cuttings sit for a day, it’s time to place them into a new pot with fresh, well-draining soil.
As I mentioned earlier, it’s vital that the soil doesn’t retain too much water because Sansevieria cylindrica plants are drought-tolerant and don’t do well in wet conditions.
Here’s how to place the cuttings into the soil:
- Using your fingers, create small holes in the sections you want to put the cuttings in.
- Then, place the base of each cutting into the soil.
- Pack each cutting securely in place using your hands and more soil.
- Water the pot generously, ensuring the earth gets damp.
- Keep the pot in an area with sunlight and adequate airflow. This way, the roots are more likely to grow, and the soil can dry.
7. Check the Progress After Approximately Two Months
Once you’ve planted the new cuttings and watered the pot, wait around two months. After two months, the roots should have started to form. You can check by removing each cutting from the pot and examining the bottoms.
Once you see roots growing, it’s time to repot the cuttings into new pots so they have more space to grow and thrive.
How To Care for Sansevieria cylindrica ‘African Spear’
Now that we’ve discussed the basics of propagating a Sansevieria cylindrica (African Spear), it’s good to learn some essential care tips. Thankfully, these plants are not high maintenance and require little care for the most part.
For example, it’s generally not necessary to use fertilizer, but you can if you wish.
Below are some of the best ways to care for your Sansevieria cylindrica.
Water It Once Every Two Weeks
Even though African Spears can grow well in dry soil and weather, they need moisture now and then to grow to their full potential.
Therefore, watering your plant once every two weeks is a good idea during the hotter months. You don’t need to water it as much in the colder seasons.
It’s also best to water it in the early morning, as the soil and foliage will have the rest of the day to dry in the sun. Be sure to give it a deep watering, but avoid watering too frequently.
Overwatering your Sansevieria cylindrica can lead to leaf yellowing and wilting. In the worst case, it may lead to root fungal diseases and plant death.
Keep It at the Appropriate Temperature
Although the temperature doesn’t need to be scorching for an African Spear to thrive, it can’t be too cold. The ideal temperatures for this plant are between 15 and 30 degrees Celsius (59 and 86 degrees Fahrenheit).
So if the temperature gets colder than 59 degrees Fahrenheit, your Sansevieria cylindrica might struggle to thrive. However, it’s equally important to ensure the temperature doesn’t get too hot, as this can cause other issues, like dehydration.
According to the University of Nebraska-Lincoln, heat stress may lead to fewer plant yields.
Ensure It Gets Adequate Sunlight
Luckily, African Spears can grow in the shade. However, they should receive at least a few hours of sunlight daily if you want them to thrive as much as possible.
Although sunlight is essential, too much can be damaging, so it’s best to give the plant a healthy balance between sunlight and shade.
For example, provide some sunlight in the morning and evening (when the sun isn’t too intense) and keep it in the shade during midday (when the sun is more intense).
Watch Out for Plant Diseases and Overcrowding
The final care tip for Sansevieria cylindrica plants is to keep a close eye on them to ensure they don’t develop diseases or become too overcrowded.
Watch out for fungal and bacterial infections, and remove infected foliage using pruning shears as soon as you notice yellow or browning leaves. Splotchy foliage may also indicate a problem, so always be on the lookout.
Overcrowding is another issue with many plants, including African Spears. If you notice stunted growth or can see roots coming through the drainage holes in the pot, it’s time to place the plants in bigger pots, giving the roots more space.
Conclusion
Sansevieria cylindrica ‘African Spear’ plants are easy to care for and propagate, so you shouldn’t run into many issues if you choose to grow them in your home or garden. When propagating, it’s best to use a rooting hormone, as it increases the chances of roots forming.
When caring for your plant, water it once every two weeks during the growing season, and give it enough sunlight (but not too much).
Other Articles You May Also Be Interested In
Kalanchoe delagoensis ‘Mother of Millions’ Care and Propagation
Kalanchoe daigremontiana ‘Alligator Plant’ Care And Propagation